There are a couple things we’re going to need to provision before we can properly learn data engineering for analytics. I this post, we’re going to:
Install Some Software
If you already have Visual Studio with the “Data storage and processing” option selected and Azure Data Studio, then you can skip to the next section.
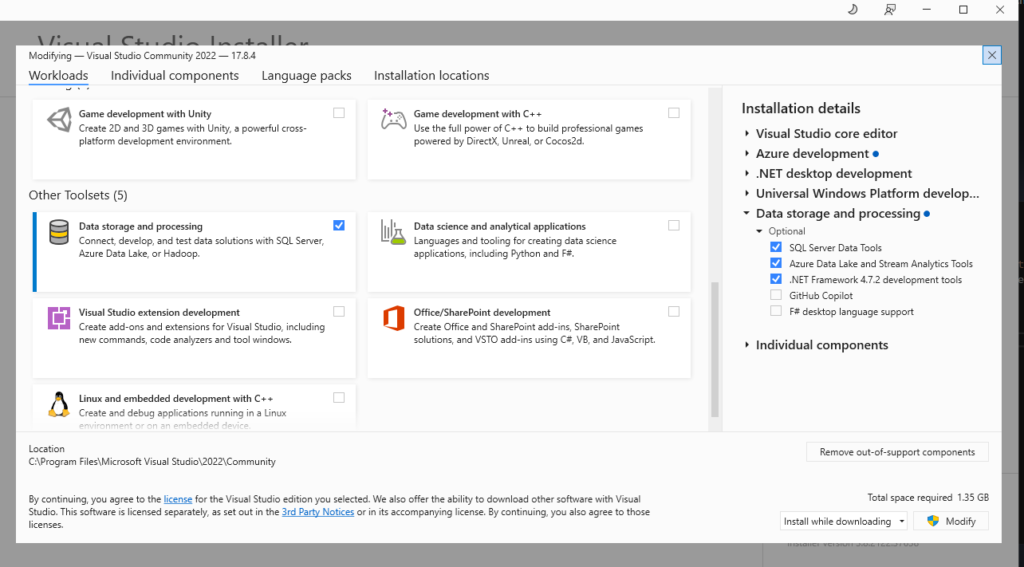
Go download the Visual Studio Installer and install, making sure that you have checked off the appropriate options:
Next, go Download and install Azure Data Studio. There are very few options, so you should be able to figure this out on your own. We’ll need these tools a little later.
Create an Azure SQL Server and Empty Database
Once you’re in the Azure Portal, create a resource group to house all the resources we’ll need for this series. If you don’t know how to create a resource group, this series might be a little too advanced. Use whatever tags your think are necessary for your environment.

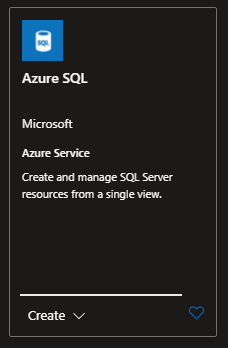
With your resource group, create an Azure SQL database. We’ll create the new server at the same time.


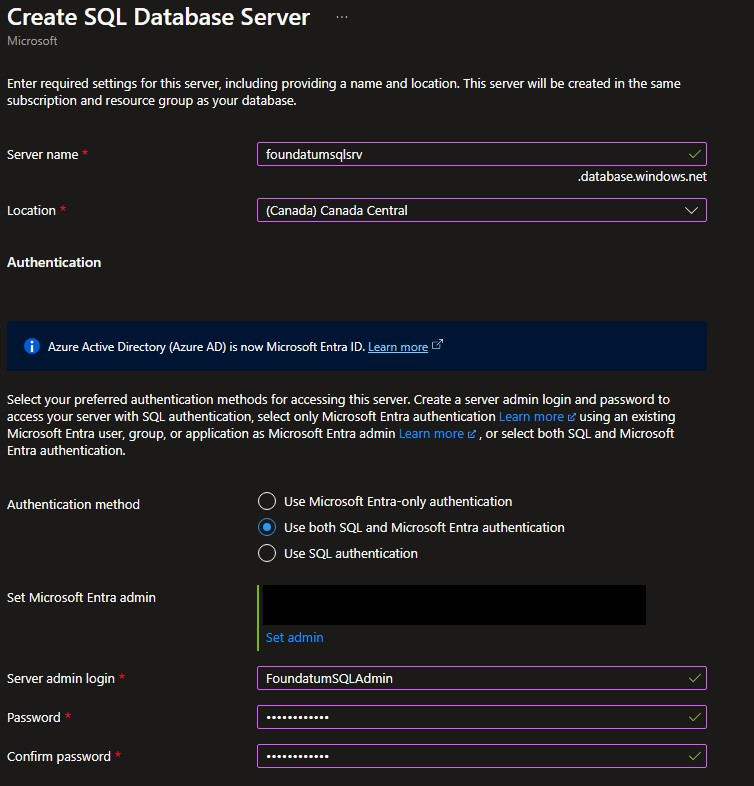

Click next to go to Networking:

For this DB, I’m not changing any of the default values for Security, Additional settings, or Tags. Change them to your desired values if you need. You now have a low cost Azure SQL DB!
Clone and Publish the Database from my Repository
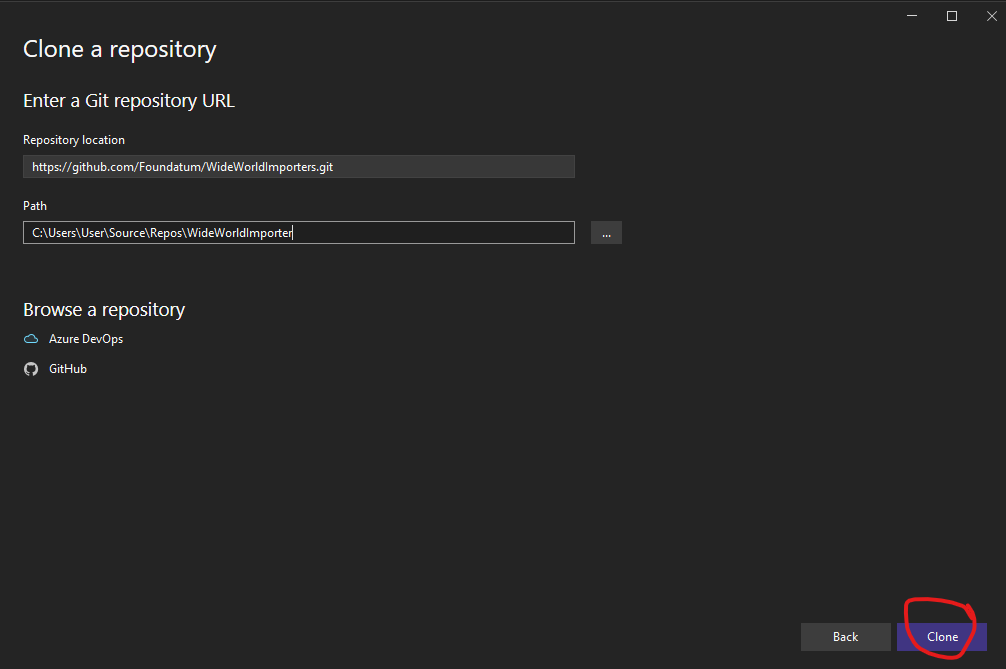
Anyone who wants to take a look at the database can find all the code here. There are only slight modifications to the base repo from Microsoft. We’re going to open Visual Studio and clone the repo from there. So open Visual Studio and “Clone a repository”:

Copy this link and hit clone.
Open the WideWorldImporters.sln file and build the solution (shortcut Ctrl + Shift + B). Hopefully everything works. It did for me on a fresh Windows 11 dev environment VM. Right click on the Project and click “publish”.

Now you need to Edit the target database connection and include the server and database information that were created earlier in this tutorial. Feel free to save this profile if you think you might need to republish it at some point in the future and click Publish.

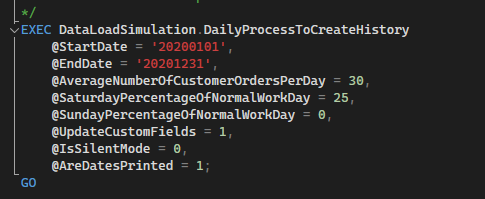
If you look at the post deployment script, you’ll see towards the end that it generates one year of history. When I published this, it took about 30 minutes, so a little long. Again, this is because the tier that we’re on is Basic, so the resources allocated to our database is pretty minimal. Most of our extraction tasks later won’t take this long.
You should now have a database with 1 year of consistent history. In the next tutorial we’ll create a Synapse environment, configure the security to our database and schedule history to be created on a regular basis.